
When players visit me to have their instrument assessed there are a few areas that I pay great attention to. In fact, there is a list in my head of all the boxes I need to tick. The check list starts with ‘are any seams unglued?’ and goes all the way through to ‘has the instrument sustained a soundpost crack front or back?’. I then move on to inside the instrument if it is in for major surgery.
Quite high up on this initial list, as it’s a very common issue, is a maintenance job that we discuss time and time again. It is the ‘fingerboard shoot’!
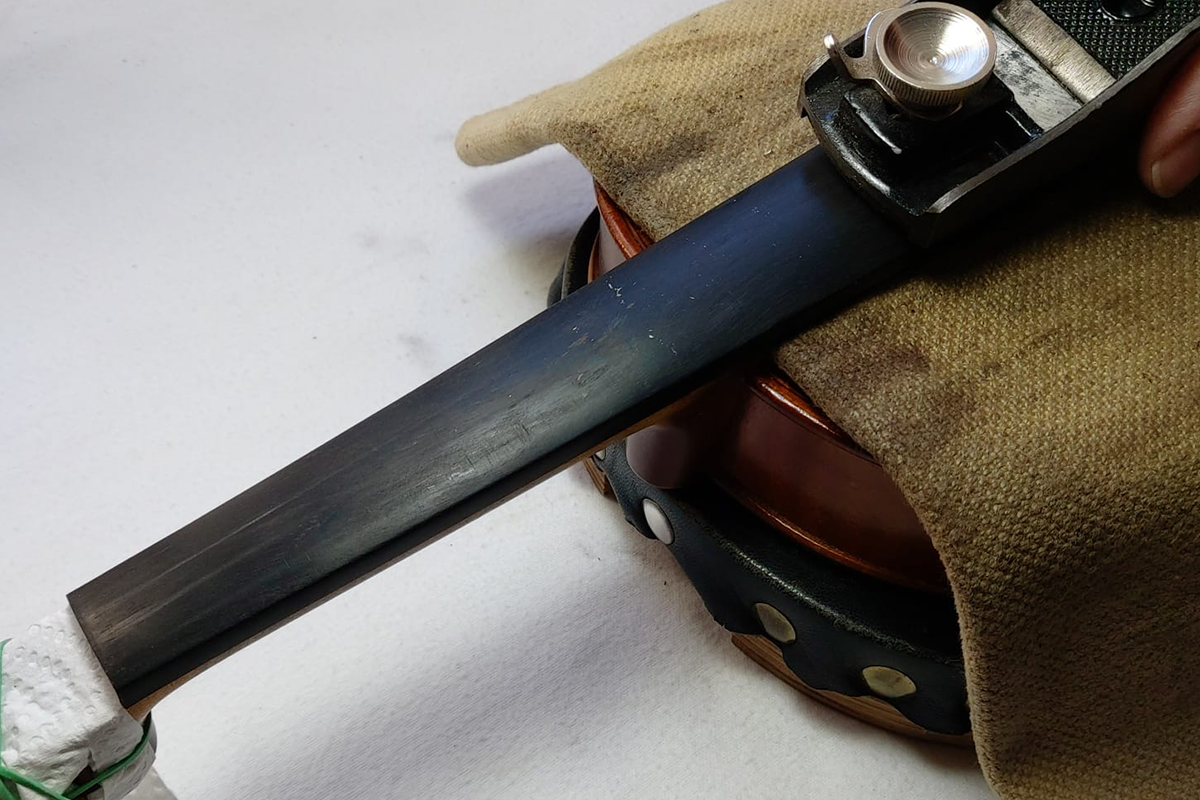
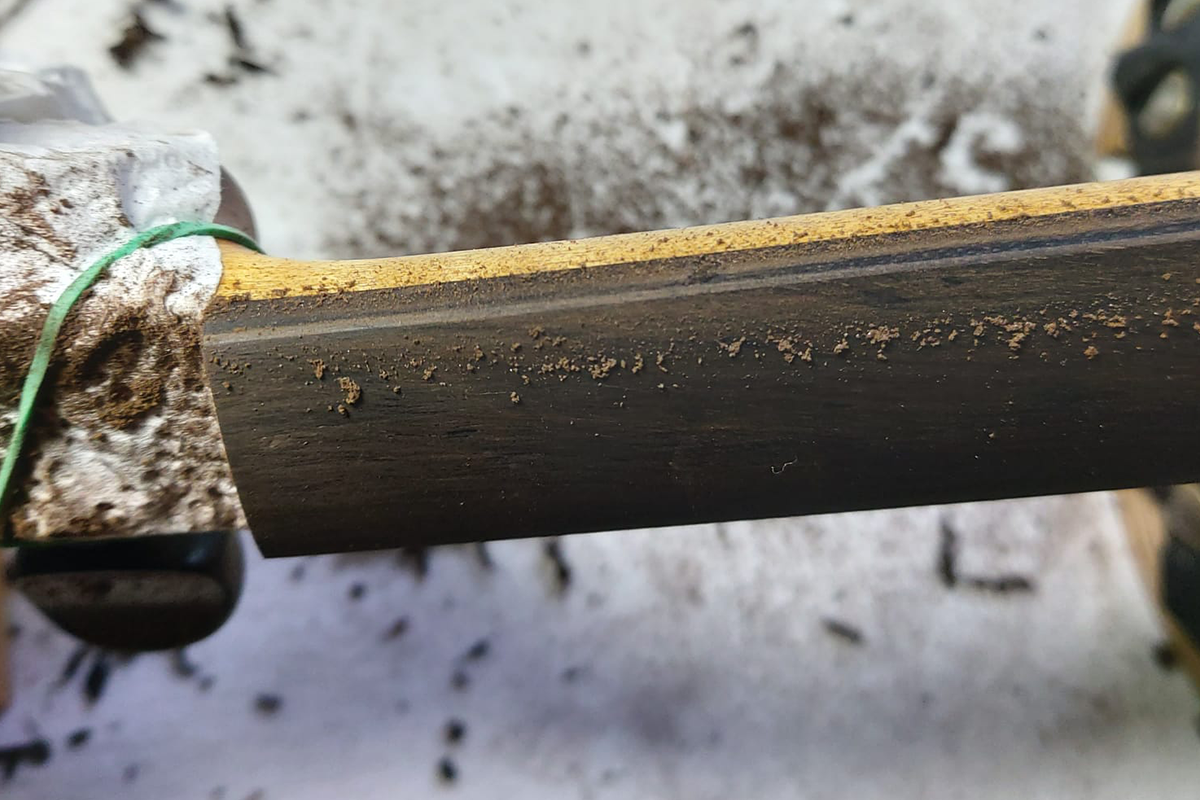
If you gently draw each string towards another and look at the line where the string sits when pushed down by your finger onto the fingerboard (piece of long black ebony) when being played, you can immediately ascertain if there is wear. If there is obvious wear then the fingerboard needs a ‘SHOOT’.
Deep channels are created by the strings during use and can lead to buzzing. Unclipped fingernails can create craters and the fingerboard becomes compromised. A new fingerboard can take many ‘shoots’ but each time it is shot wood is removed. When the fingerboard becomes so thin it can’t be shot again, a new one is fitted.
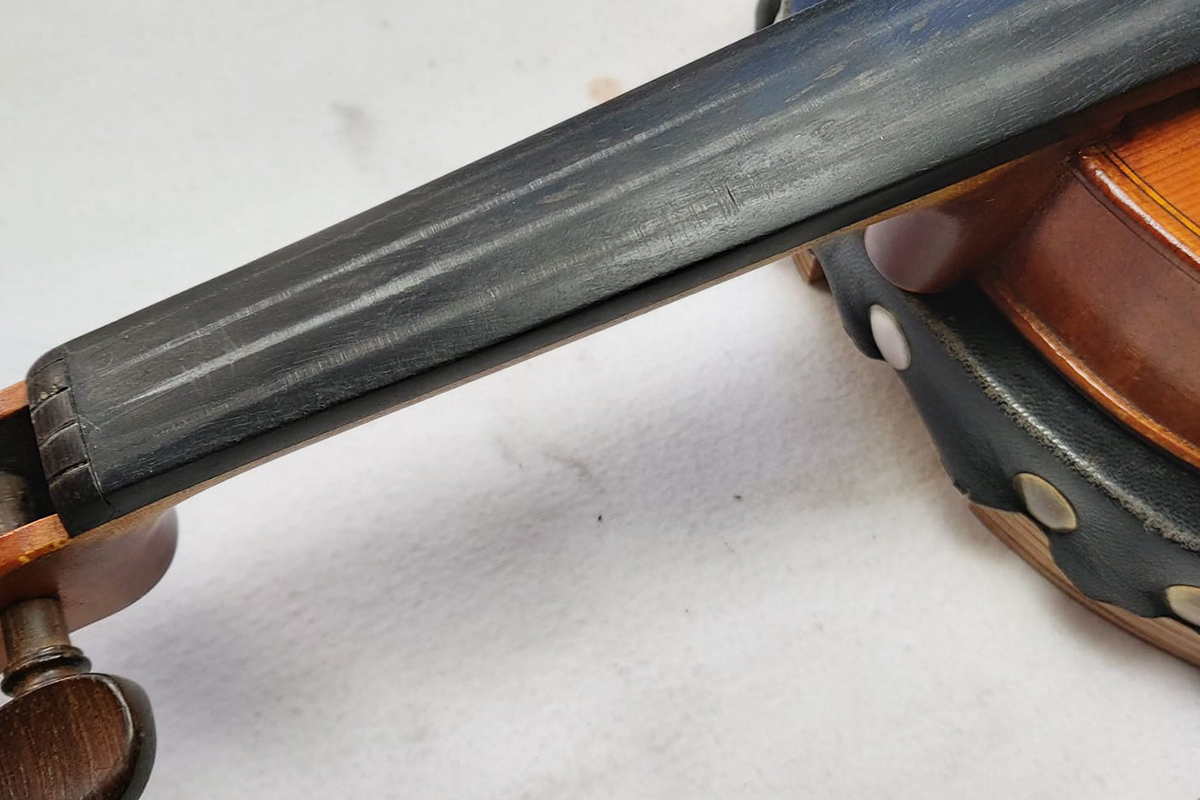
Pic 1. Strings taken off altogether and fingerboard exposed.

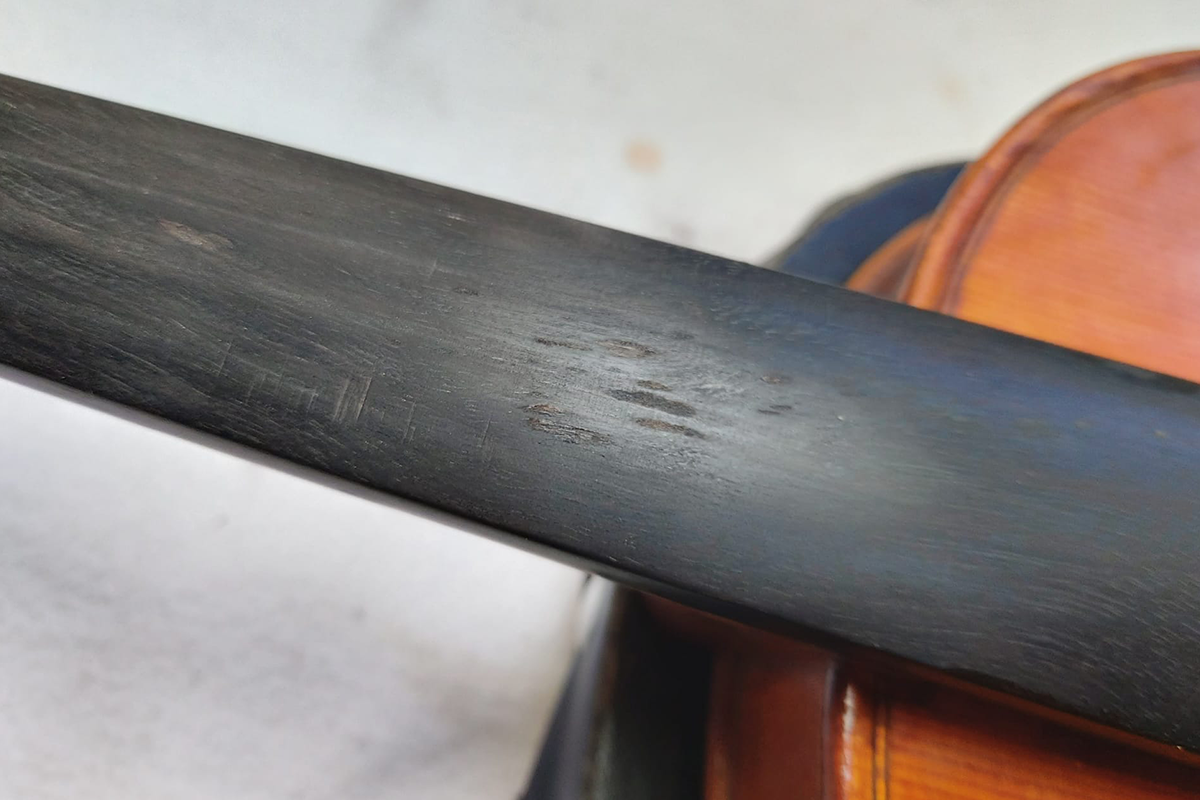
Pic 2. Visible trenches caused by constant playing.
Pics 3/4. Damage caused by fingernails being too long.
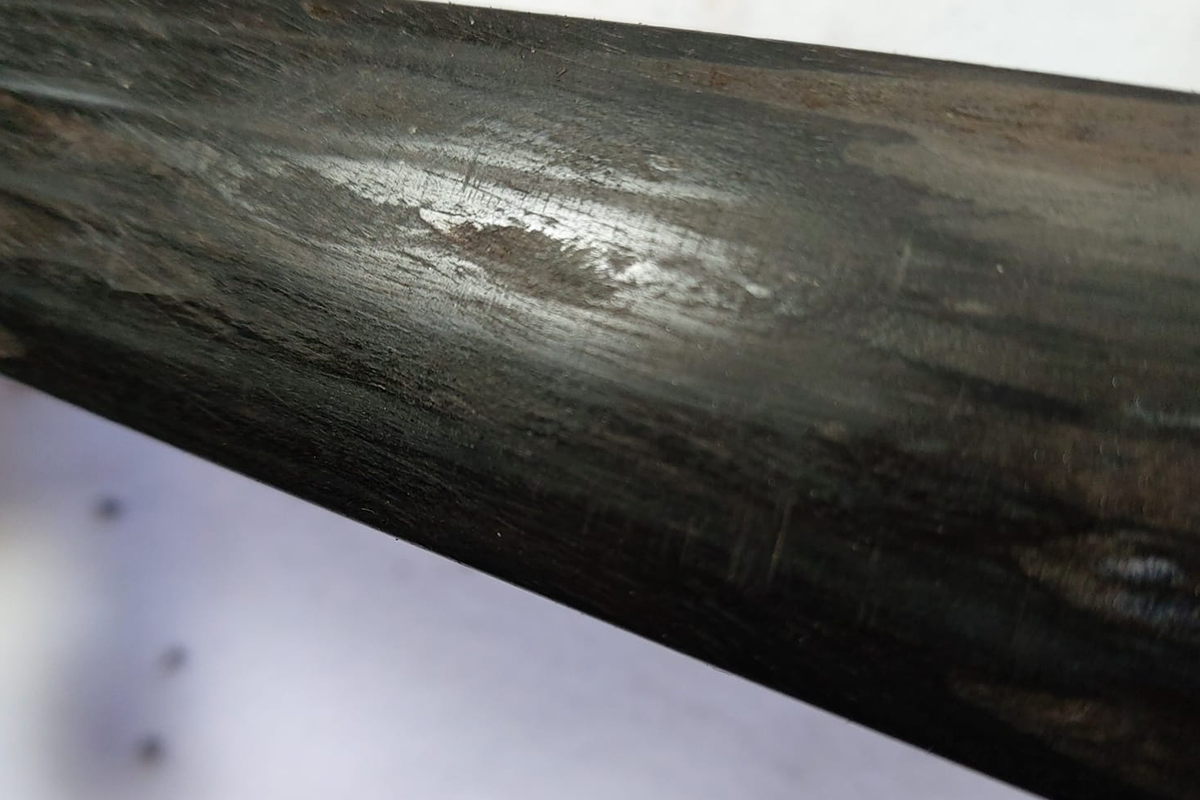
See above
Pic 5. Top nut removed and the block plane is about to ‘shoot’ along the fingerboard. Most of the wood is removed by the block plane and scrapers.
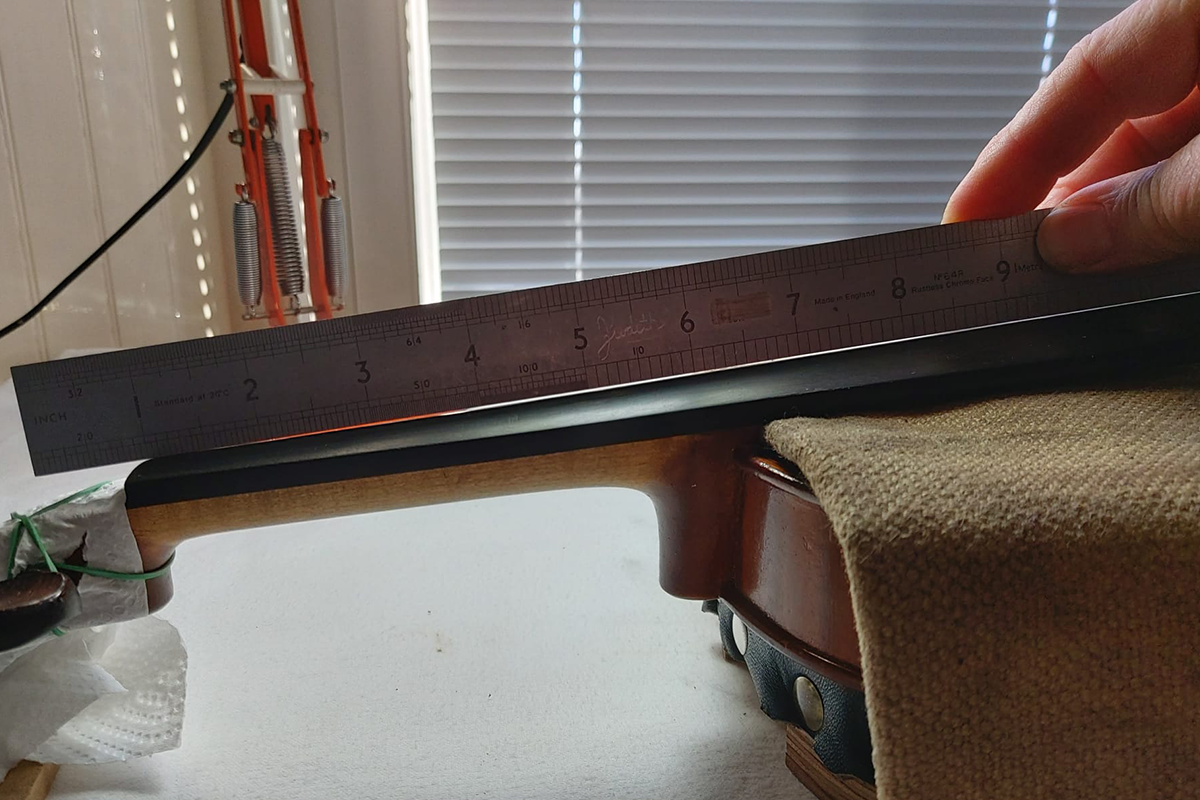
Pic 6. Constant checking of displacement along each string line.
Pic 7. Working towards ‘e’ displacement of 0.5mm and ‘g’ displacement of 0.75mm. This allows for the string vibration to leave the playing finger and not buzz.
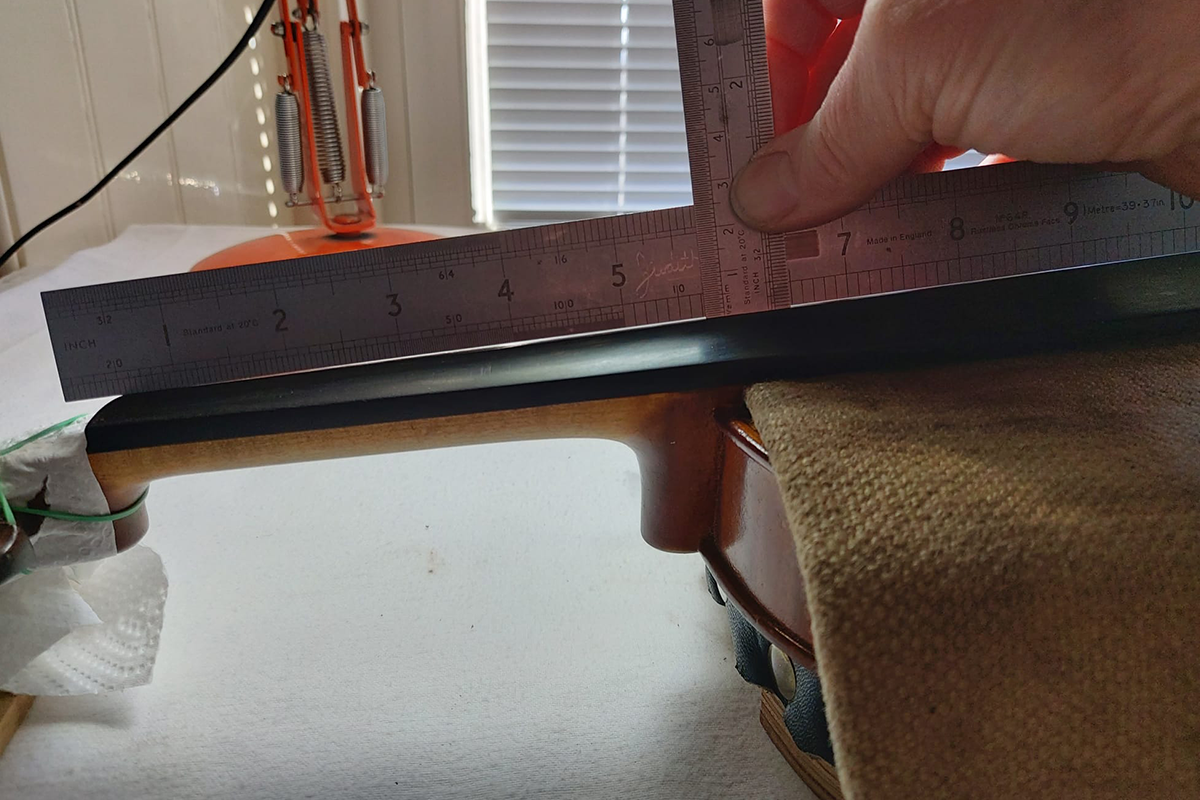
Pic 8. The displacement has to have the same dip/curve throughout its whole length. Checking with large square.
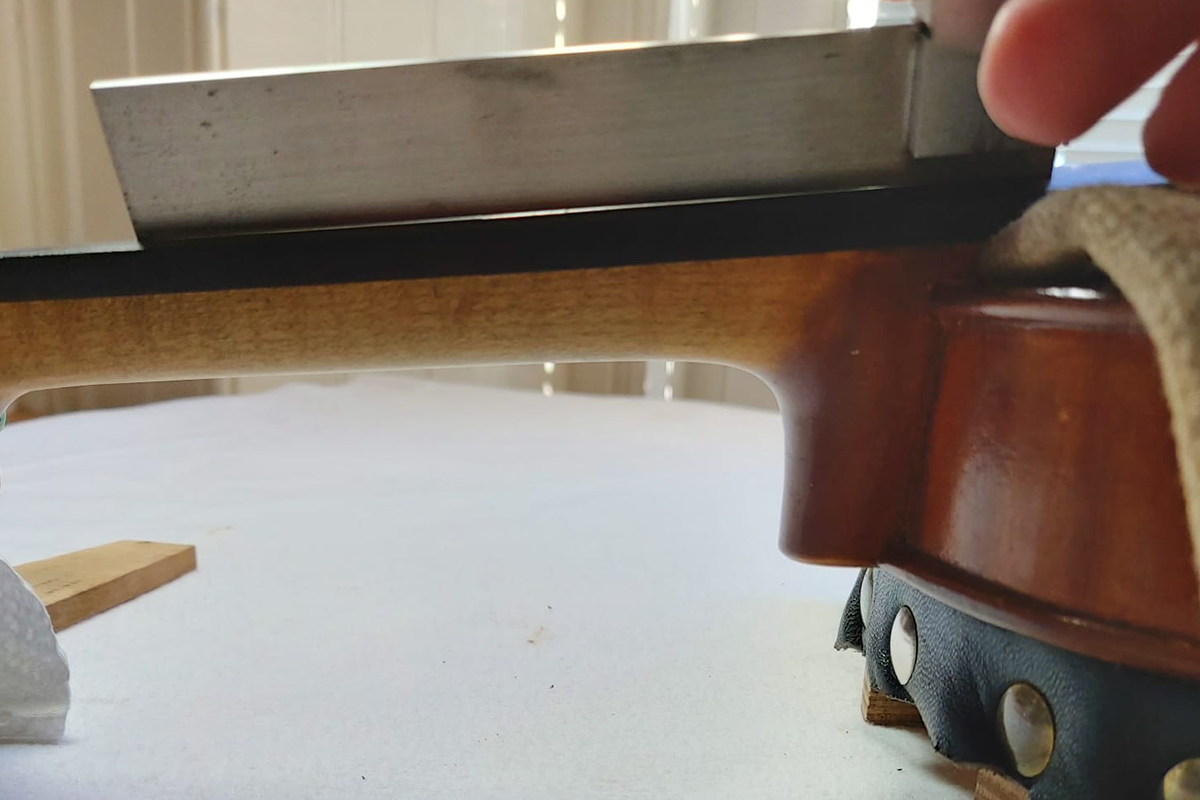
Pic 9. Checking with smaller square to reveal any bumps/lumps for removal.
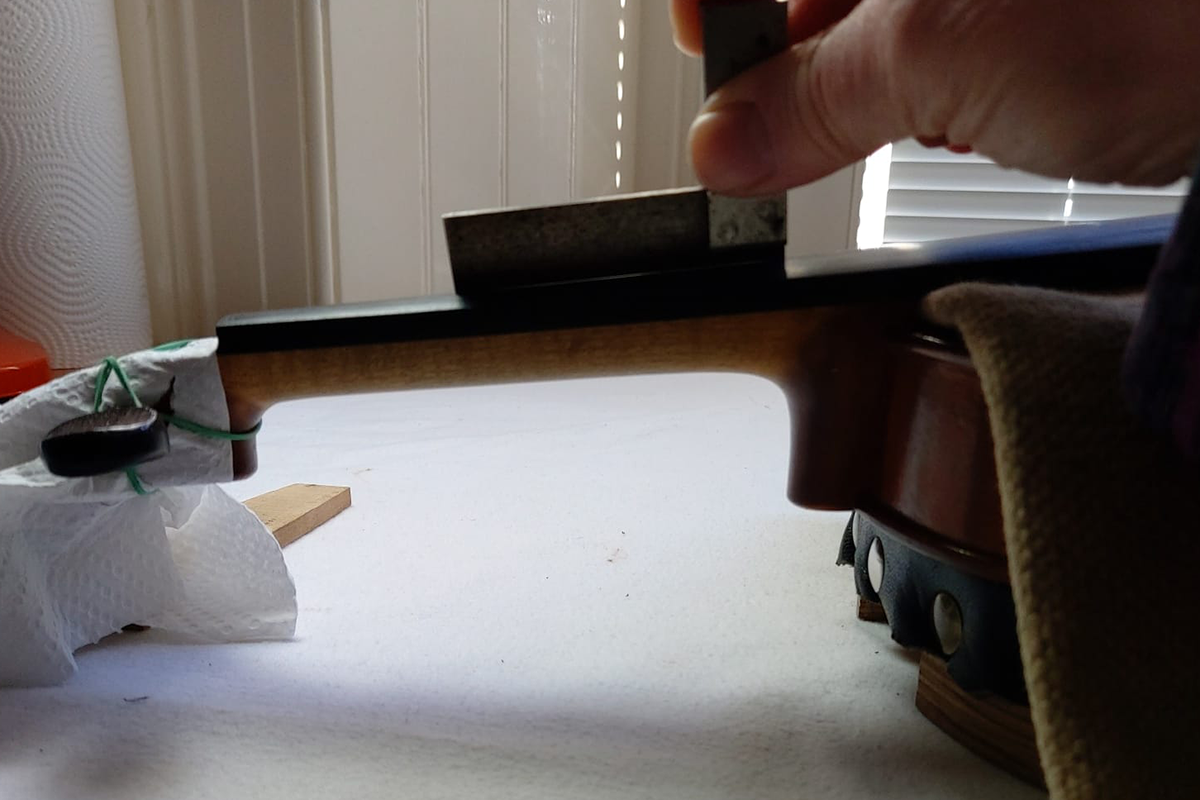
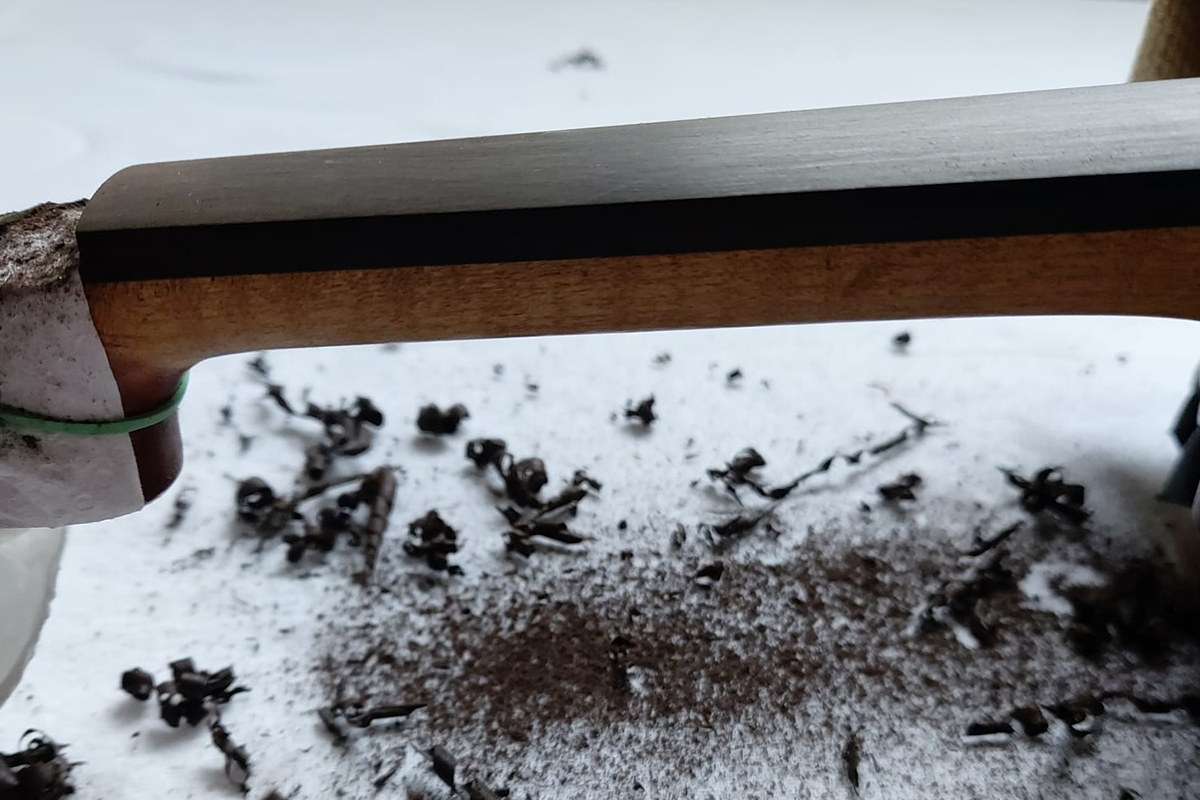
Pic 10. Constant checks with template for fingerboard curvature which must correlate with the bridge curve.
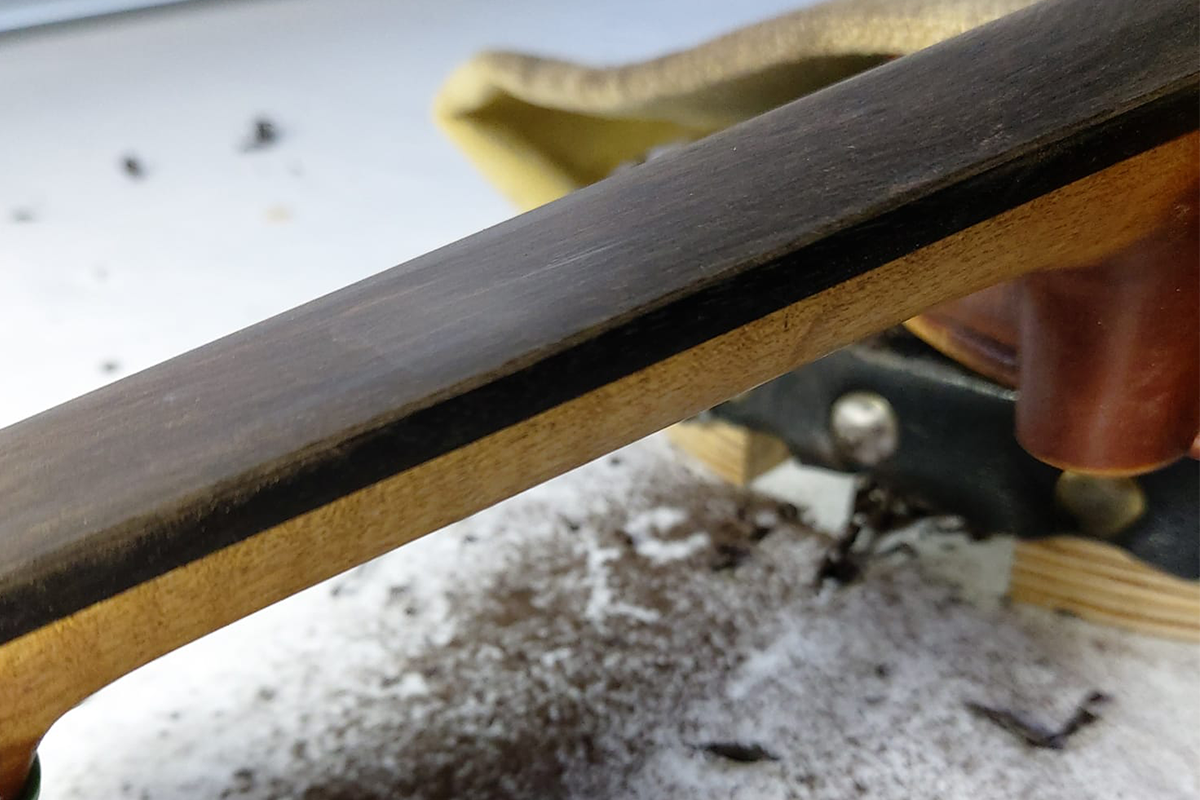
Pic 11. Sanding 180 then 240 and finish with 400 grit paper.
Pic 12. Good finish creates sharp edges which must now be removed.
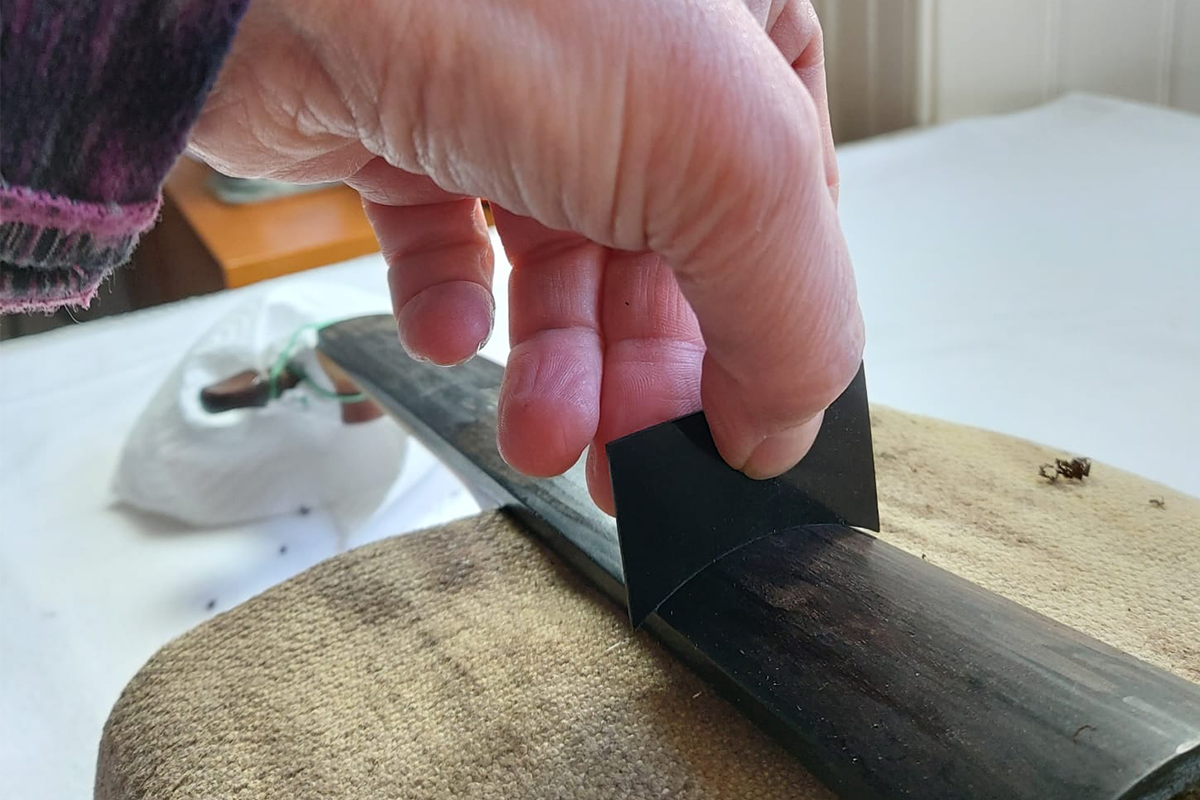
Pics 13/14. Chamfers added to both sides for playing comfort.
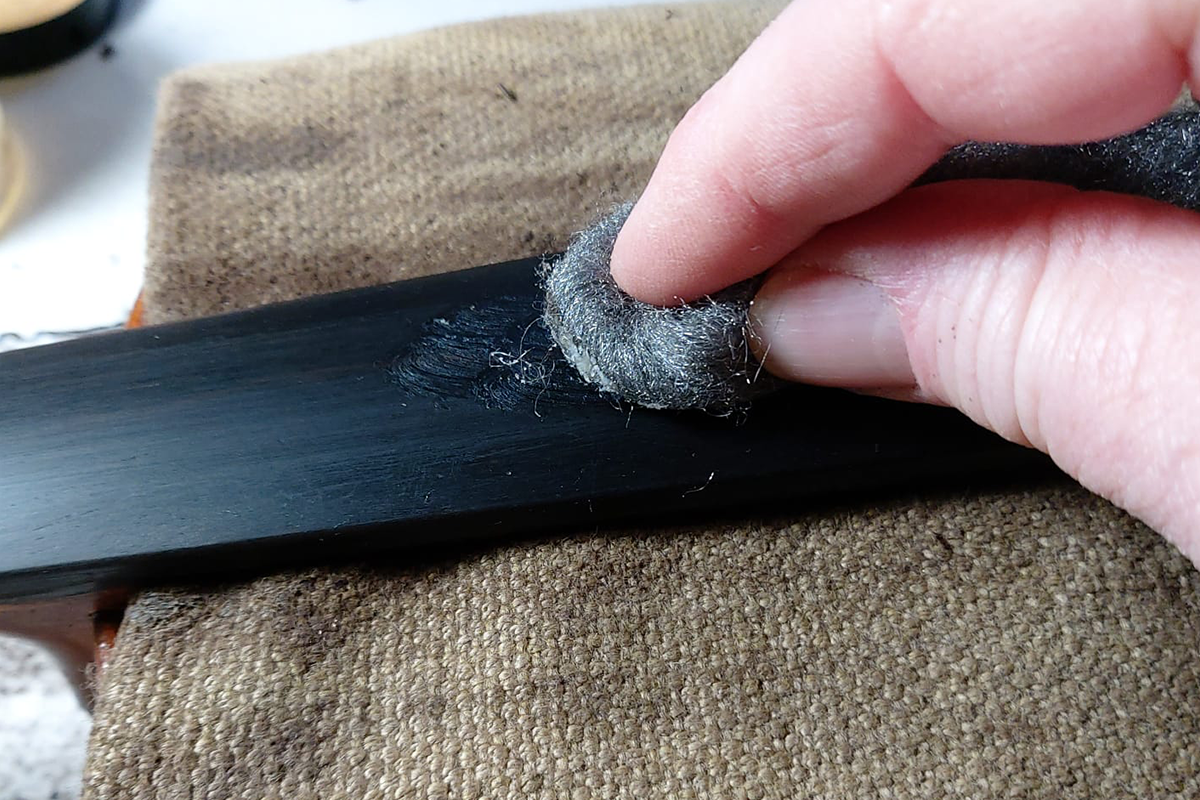
Pic 15. I call this ‘Feeding’ the fingerboard. Applying a large dose of soft restoration wax/polish on wire wool 1000 grade. The fingerboard literally eats it up! Feels amazing to the players touch.
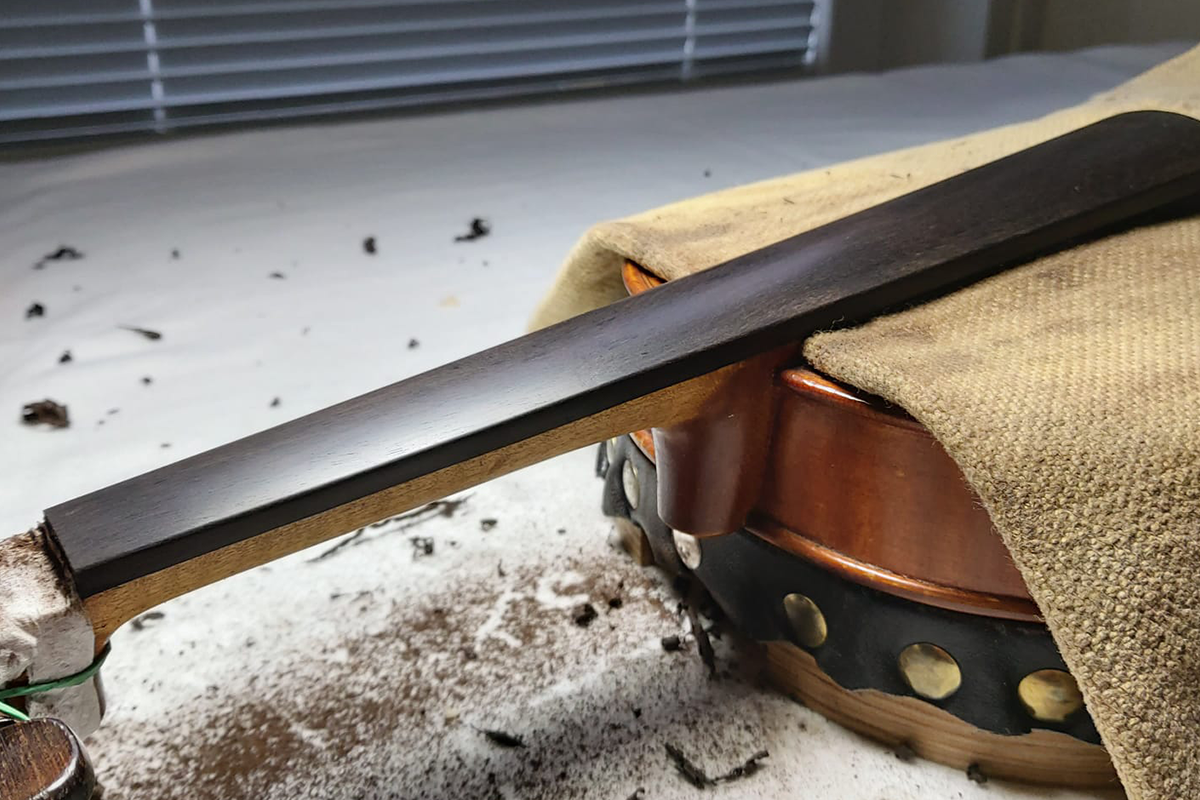
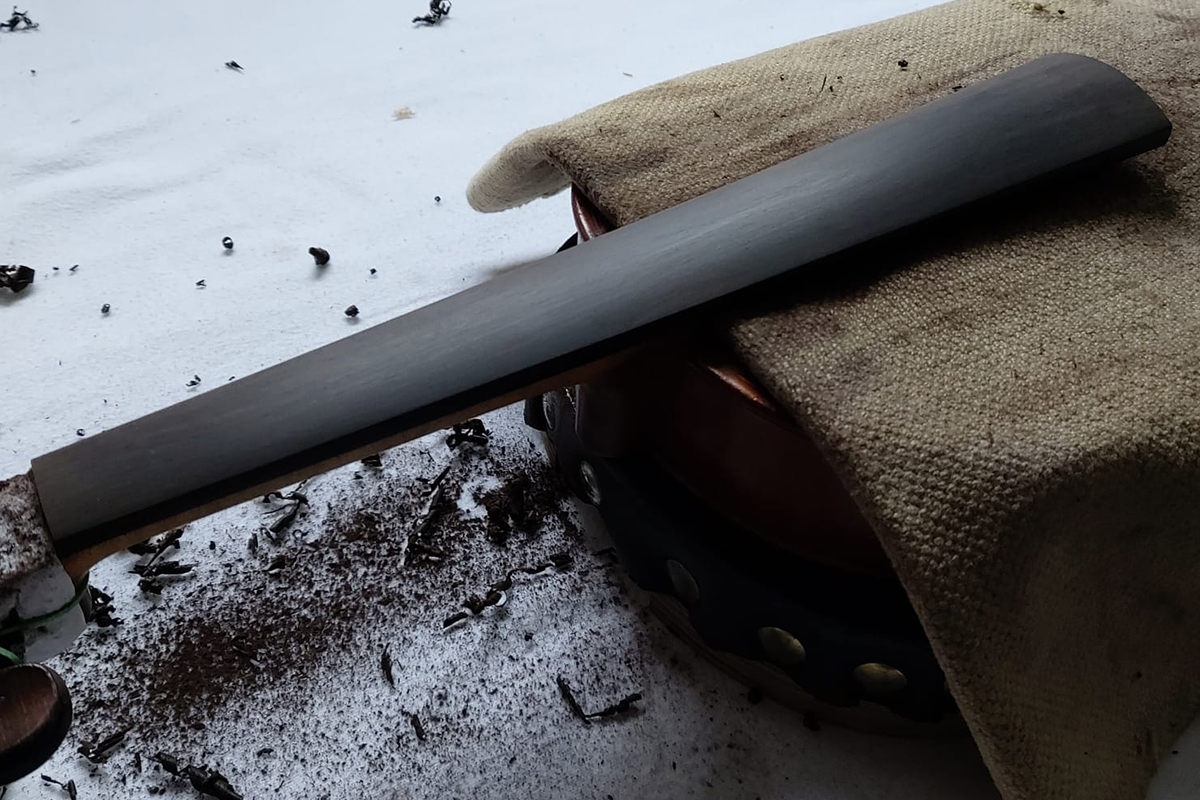
Pic 16. The beautiful finished fingerboard!
Of course I still need to glue the nut back and reshape it to fit the new fingerboard shape.
A fingerboard shoot of this quality should be almost invisible to the players touch. I want you to glide across it, hardly noticing it. It should be so even and so smooth that you aren’t even aware of it and the job it does for you.
It’s a lot of work and the level of accuracy and precision is key.
So, check your fingerboard and if its anything like this one, we need to get it sorted…….asap!!
Leave a comment